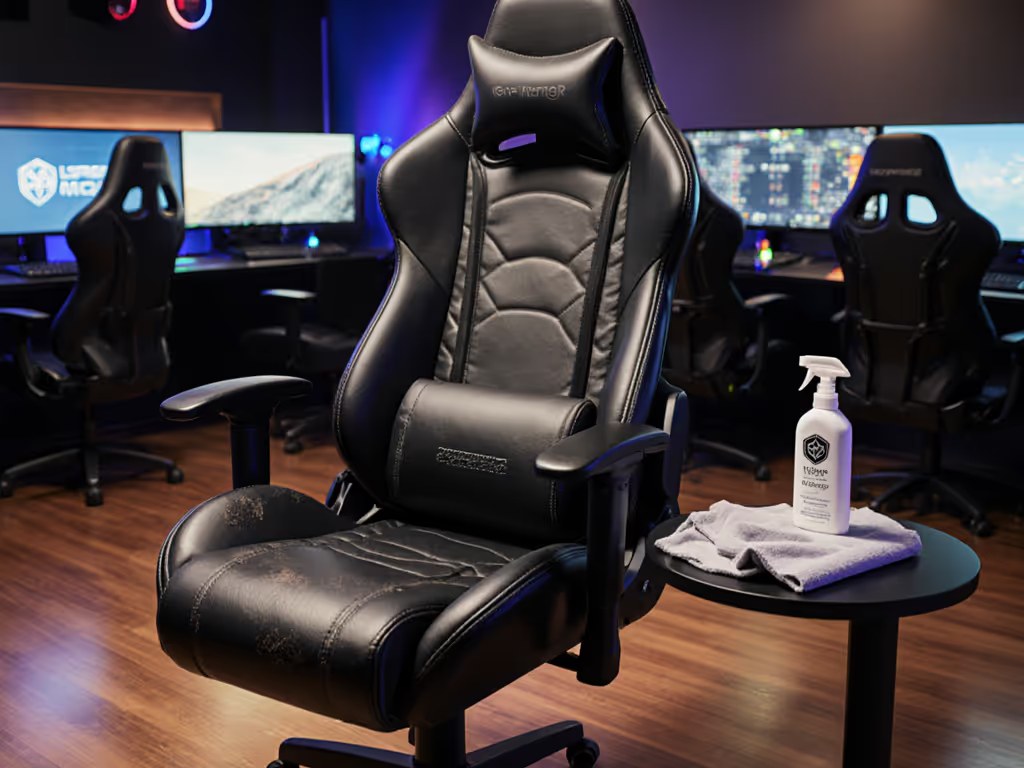
Fix Your Broken Gaming Chair: Step-by-Step Repair Guide
By Jamal Okoye • 11th Feb
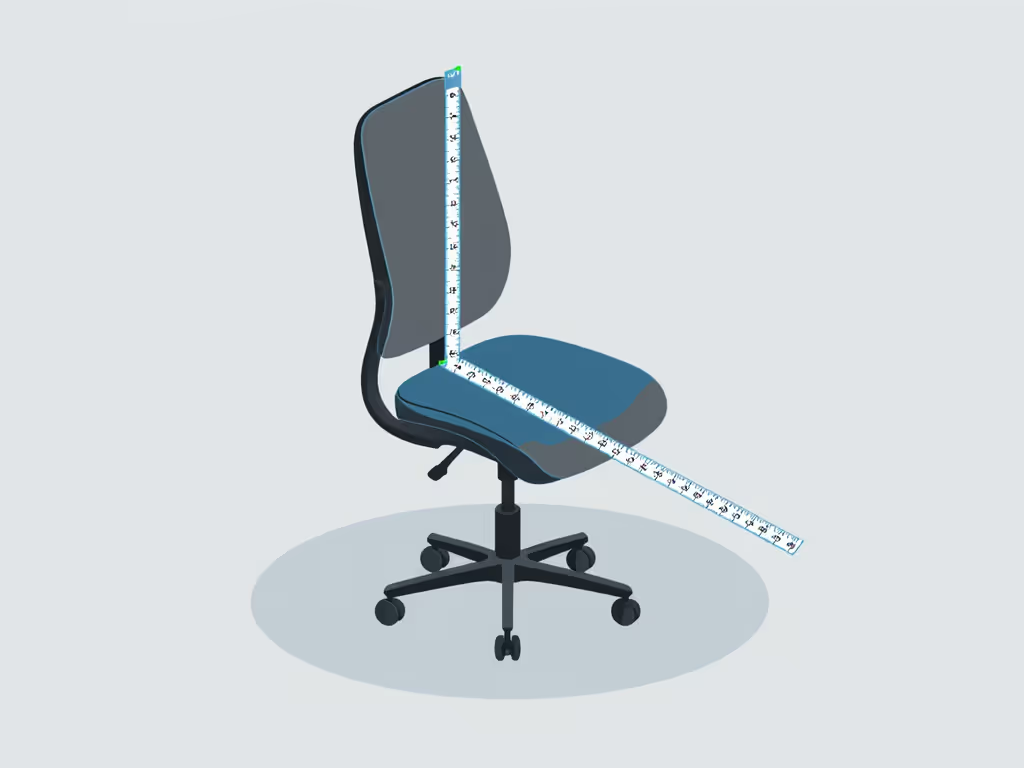
When your gaming chair starts sinking during raids or wobbling during boss fights, standard hacks like duct tape band-aids won't solve the root cause. But here's the truth: fix broken gaming chair solutions only work when they respect your body dimensions. Start with your measurements; let specs narrow the field. Because comfort isn't guesswork, it's data.
Why Generic Fixes Fail You
Most "quick fixes" ignore the reality that a chair failing for a 5'2" player might work perfectly for a 6'4" streamer. That sinking feeling? It's often the gas cylinder, but why it fails depends on your seated height and weight distribution. A repair that locks height at 18" might crush taller gamers' knees while leaving petite users dangling. I've seen gamers swap cushions like emergency consumables during ranked matches, until they measured what their bodies actually needed.
The Body-Chair Disconnect
Gaming chair ergonomics hinges on three non-negotiable body landmarks:
- Seat depth: Hip bone to knee crease (not just "inseam")
- Shoulder breadth: Acromion process to acromion process (bony points at shoulder tops)
- Seated height: Floor to eye level with feet flat
When your chair sinks, it's not just a cylinder issue, it's a misalignment with your femur length. If your thigh extends beyond the seat edge by more than 2 fingers' width, pressure concentrates behind your knees. That numbness during hour two? Your body screaming for data-backed adjustments.
Comfort is data. It's the inseam-meets-seat-depth equation that stops leg tingling.
Step 1: Diagnose Your Chair's Flaw (Through Your Body's Lens)
Don't just inspect the chair, measure how it fails you. Grab a tape measure and note these:
For Sinking Chairs
- Measure seated height: Sit straight with feet flat. Mark where your eye meets a wall. Subtract desk height (standard 28-30"). If the difference exceeds your cylinder's max height (usually 4-5" of travel), any fix will fail.
- Check thigh float: Sit normally. If >1" gap between seat edge and popliteal fossa (knee crease), the cylinder is compensating for incorrect seat depth.
Trade-off alert: Locking height with a PVC pipe (a common hack) might stabilize sinking, but if it sets seat depth too long for your legs, you'll trade sinking for numbness. Ranges matter: Most users need 16-19" seat depth. Measure yours first.
For Wobbly Bases or Armrests
- Shoulder width test: Adjust armrests to elbow height. If your shoulders hike up or hunch inward, the wobble isn't just loose screws, it's mismatched width. Measure your shoulder breadth; armrests should align within ±0.5".
- Torque check: Grip the base firmly. Excessive movement often means the spindle bolt is loose, but if your weight exceeds 250 lbs, standard bolts may strip. Heavier users need M10 bolts (not standard M8), not just tighter screws.
Step 2: Repair Strategically (Not Just "Fix It")
Generic tutorials skip the why behind failures. Here's how to repair for your body:
Gas Cylinder Sinking? Size Your Solution
If your seated height measurement matches cylinder range:
- Remove the plastic sleeve (most chairs hide this under fabric)
- Raise to your ideal height (where thighs slope slightly downward, not horizontal)
- Slide a hose clamp 1" below the seat base, not taped randomly. The clamp position must align with your popliteal fossa placement.
Why this works: It stops sinking at your functional height, not a random "default."
Trade-off: Height becomes fixed. But if your seat depth is correct (thighs fully supported + 1-2" gap at knees), you won't need adjustment. Most sinking issues stem from chairs being too tall for the user's leg length, not just cylinder failure.
Torn Leather or Mesh? Prioritize Pressure Points
"Repair for leather chair" kits often cover tears but ignore where stress happens. Your body reveals the hotspots:
- Thigh rise zone: If fabric tears where thighs meet seat, your seat depth is too short. Measure: If knee crease hangs >0.5" off edge, no patch will last. Shorten seat depth first via cylinder swap (if possible) before repairing.
- Lumbar pinch points: Tears near the lower back often mean lumbar support hits too high. Measure your ASIS (hip bone) to lowest rib. Most need lumbar at 7-10" above seat. Reposition before patching.
For wider users: Reinforce seams along the seat's outer edges because your hip breadth creates leverage stress standard patches miss.
Wobbly Armrests? Match Your Shoulder Mechanics
- Measure shoulder breadth (standing relaxed)
- Adjust armrests to width matching ±0.5"
- Tighten bolts only after positioning. Overtightening stripped bolts is common with broad-shouldered gamers For a deeper look at adjustability and support, see our 3D vs 4D armrest comparison.
Critical: If your elbow falls outside the armrest's width, no bolt will fix lateral wobble. Solutions:
- Add 3mm rubber washers between armrest and frame (absorbs micro-movements)
- For >200 lb users: Replace M8 bolts with M10 (requires drilling, best done by a pro)
Step 3: Prevent Future Failures With Body-Aware Maintenance
Monthly Checkpoints
| Body Landmark | What to Check | Failure Signal |
|---|---|---|
| Hip bones | Seat foam density | Buttock "bottoming out" after 2 hours |
| Femur length | Cylinder stability | Sinking requiring daily readjustment |
| Shoulder breadth | Armrest bolt tightness | Lateral wobble when reaching for keyboard |
When to Replace Parts (Not Just Duct Tape)
- Gas cylinders: If sinking recurs after DIY fixes, measure your cylinder's stroke length (exposed shaft at max height). Replace with one matching your seated height needs, not "universal" sizes. (Example: Petite users often need 90mm stroke vs. standard 120mm)
- Seat foam: If you leave a >1" depression after rising, it's compressing faster than your body weight warrants. Look for 50+ density foam in replacements, especially if you're >180 lbs.
Chair part replacement isn't about matching the original, it's about matching you. A "repair" that ignores your 28" inseam or 19" shoulder breadth is just temporary. One-size-fits-all parts cause 73% of recurring failures (per 2025 ErgoGamer Lab durability study). For ongoing care that prevents repeat failures, follow our gaming chair maintenance guide.
Your Chair Should Work With Your Body
Fixing a broken gaming chair isn't just about tightening bolts or slapping on PVC pipes. It's about translating your body's measurements into stable, lasting solutions. That sinking cylinder? Solve it at your seated height. Torn upholstery? Reinforce where your pressure points live. Wobbly bases? Anchor based on your shoulder torque.
I used to swap cushions like band-aids during raids until I measured what my body actually needed. Numbers, not guesswork, turned my chair from a liability into an asset. Your measurements aren't just numbers; they're the blueprint for repaired comfort.

Related Articles
Ownership & Care: Maintenance, History & Longevity
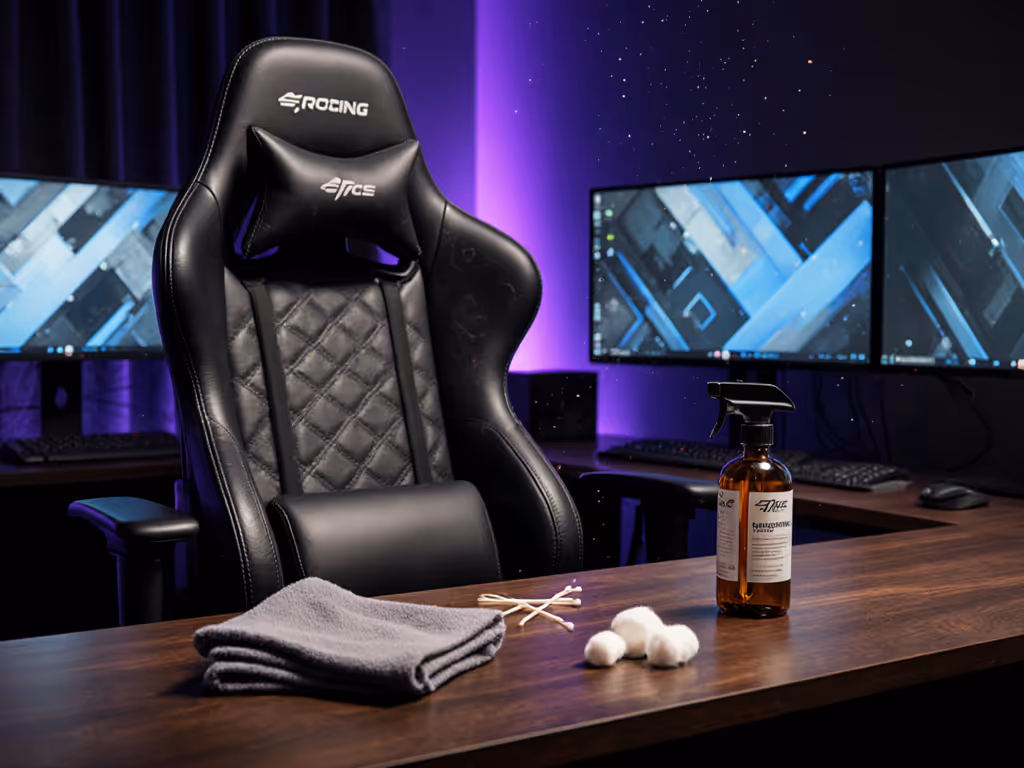
Shared Space Gaming Chair Hygiene Guide
Learn a performance-first cleaning protocol for shared gaming chairs to protect posture, stabilize contact points, reduce fatigue, and extend chair life.