Transfer-Friendly Console Gaming Chair Setup Guide
By Linh Vo • 25th Nov
If you've ever winced transferring onto your console gaming chair because it pinches a wall or clips your doorframe, you're not alone. Most gaming chair advice ignores spatial constraints, until you get stuck in a tight living room or home office. True accessibility isn't just about seat height; it's how the chair moves within your space. As a setup planner, I've seen perfectly adjusted ergonomic gaming chairs fail because their recline envelope clashed with a coffee table or doorway. Great ergonomics must coexist with your room, desk, and devices, not fight them. Let's fix this with precision.
Step 1: Map Your Room's Hard Constraints (Before Unboxing Anything)
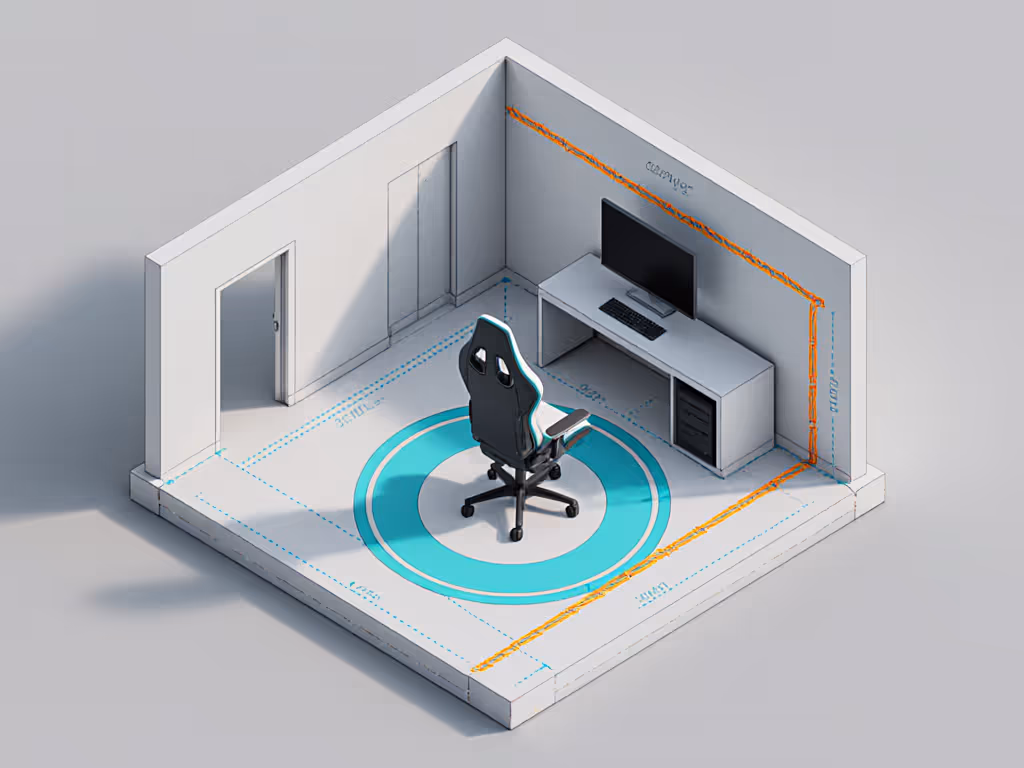
Don't assume your space fits standard chairs. Most "compact" gaming chairs still require 30+ inches of depth for safe reclining. Start with a cut-out measurement template: tape painter's tape to the floor tracing your actual usable zone (e.g., 28" deep x 32" wide in a 10x12 room with a sofa wall). Include static obstacles: TV stands, speaker wires, and that door that swings inward. If your footprint is tight, see our small space gaming chair guide for exact-fit models and measurements.
Critical move: Reclining isn't just rearward; it's diagonal. Sit in a similar chair now and trace your torso's backward arc with a laser level. The clearance arc must clear walls by 3-5 cm even when leaning 135 degrees. Measure from your hip pivot point (not the chair base!).
Check clearance arcs at three key heights: thigh level (where bolsters hit obstacles), lumbar level (where recline stress concentrates), and headrest level (for tall users). If your arc clips a wall at lumbar height, that chair will bruise your back during long RPG sessions. Swap 75 mm casters for 50 mm glides like I did for a client, those 2.5 cm saved their doorframe and gave them 3 more degrees of recline.
Step 2: Select a Chair That Fits Your Transfer Mechanics
Forget marketing claims, focus on transfer-friendly specs. An accessible gaming setup requires:
- Compact base diameter: ≤ 27" (measured tip-to-tip of casters). Larger bases catch toes during sit-to-stand transfers.
- Adjustable seat depth: Critical for petite users (<5'5"). If the seat depth exceeds 18", your knees will jam under the desk mid-transfer.
- Low-profile lumbar: Stays clear of rear obstacles during recline. Avoid bulky "race-style" lumbar supports, they add 4" to your effective footprint.
My bias is strategic here: I prioritize chairs with 5-star bases under 26" and tilt mechanisms that lock before reclining starts. Why? They minimize the rearward swing during transfers. The Herman Miller Embody (24" deep) fits 95% of tight rooms I map because its narrow back reduces the effective recline envelope by 5" compared to standard chairs. For heavier users (>250 lb), verify the cylinder's dynamic weight rating; it must support your transfer weight plus momentum.
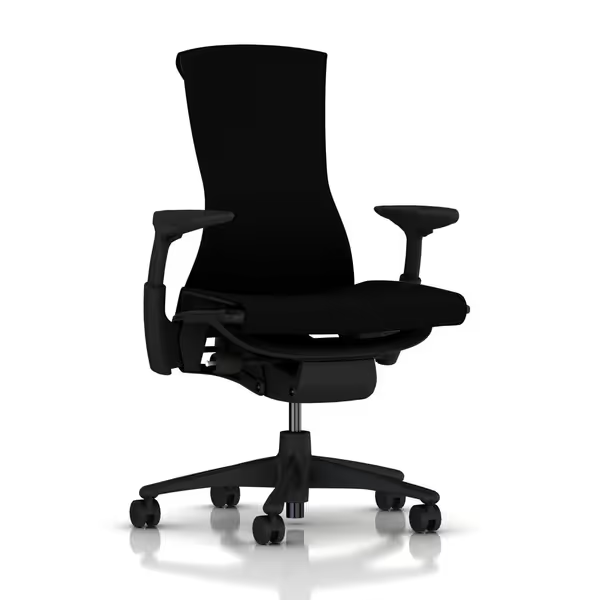
Herman Miller Embody Ergonomic Office Chair
Exceptional pressure distribution and spinal support for long sessions.
$1849
Backfit AdjustmentAligns with natural spine curve
Backfit AdjustmentAligns with natural spine curve
Pros
Sustained comfort, prevents pain during long sessions.
Dynamic support adapts to micro-movements.
Cons
Premium price point.
“Can sit for hours without pain; precision build quality and ergonomic support forces good posture.”
“Can sit for hours without pain; precision build quality and ergonomic support forces good posture.”
State your assumptions: Base this on a 29" desk and monitor at eye level. If your setup deviates (e.g., floor console rig), shorten the seat depth by 1.5" to prevent thigh pressure during transfers.
Step 3: Cable Management for Uninterrupted Transfers
Loose cables = trip hazards and transfer anxiety. Cable-safe layouts prevent yanking controllers or damaging ports during transfers. Do this:
- Route USB/audio cables under the chair base (not behind it) using adhesive cable sleeves.
- Leave 8" slack at the console end, this absorbs tension when the chair reclines.
- Secure dongles to the console with velcro, not tape.
Never let cables dangle behind the chair, they get pinched under casters during transfers. For wireless setups, hide Bluetooth dongles in the chair's rear cavity (if designed for it) or tape them to your console's side, not the back. If your chair has a power brick (e.g., for massagers), mount it under the seat using command strips (never on the floor).
Step 4: Test Transfer Technique Before Final Assembly
Your chair hasn't earned its space yet. Do this dry run:
- Place the unassembled seat on a stool at your target height.
- Practice transferring from your mobility aid (walker, cane) into it without armrests.
- If you need to grab the seat edge, the chair is too high/low. Adjust the cylinder now.
- Once seated, recline manually while checking your clearance diagram. Does your headrest clear the wall?
Only after this passes should you attach armrests. Position them so your elbows rest at desk height when transferring, not floating mid-air. Fixed-height armrests often force awkward transfers; 4D-adjustable arms (like the Steelcase Gesture's) let you drop height 2" for seated transfers, then raise them for gaming. Learn how 4D vs 3D armrests change transfer ease and in-game control.
Why This Prevents Common Pain Points
Following these steps directly addresses your top frustrations:
- Space constraints? Clearance arcs prevent doorframe collisions and wall bruising.
- Transfer anxiety? Dry-run testing catches height mismatches before assembly.
- Cable chaos? Strategic routing stops mid-transfer snags.
- "One-size-fits-all" fails? Seat depth adjustments accommodate shorter legs.
I once helped a gamer with paraplegia fit a chair in a 7x9 ft closet studio. By choosing a 25-inch-diameter base and routing cables under the seat, we cleared his walker path by 4 cm. He no longer fears transferring after 4-hour sessions.
Final Setup Truth
Your console gaming chair isn't a standalone throne, it's a spatial puzzle piece. Measure the room; then let the chair earn its space. An ergonomic gaming chair only delivers value when it moves with your body and environment, not against them. Stop forcing rooms to fit chairs. Start fitting chairs to rooms.
Check clearance arcs, every time. Your transfer safety depends on it.
Further Exploration
Dive deeper into footprint mapping with my free room-scanning toolkit (including adjustable clearance arc templates for 5' to 6'5" users). You'll learn how to calculate recline envelopes for your exact height and desk setup (no guesswork). Because the best gaming chair isn't the most adjustable one. It's the one that fits where you live.
Related Articles