Multi-Monitor Gaming Chair Setup: Position for Comfort
By Jamal Okoye • 2nd May
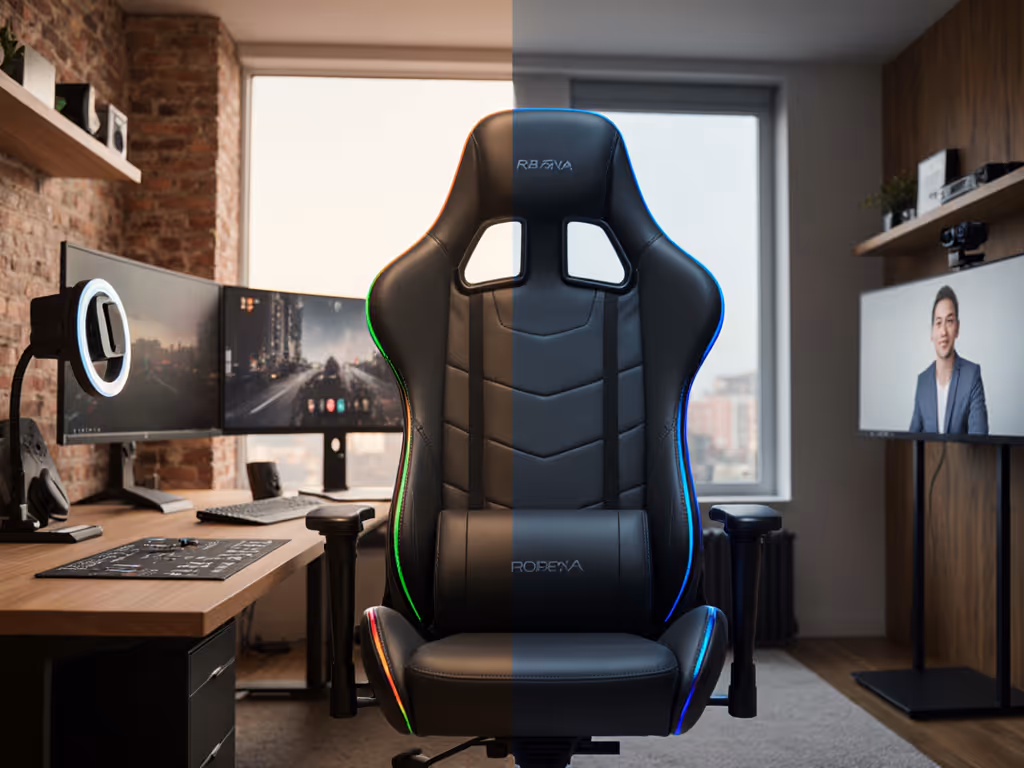
Setting up a multi-monitor gaming chair that actually works for you is less about buying the "best" model and more about matching your body to the dimensions that matter. Whether you're running triple monitors, stacking screens, or spreading them across an ultrawide, your seating position will make or break your comfort during long sessions. Start with your measurements; let specs narrow the field.
I learned this the hard way. I used to numb my legs in hour two, shift sideways every fifteen minutes, and blame my setup when the real culprit was a seat depth two centimeters too long and a backrest that missed my shoulder blades entirely. Once I measured inseam, thigh length, and shoulder breadth (and chose an ergonomic chair for multiple monitors that respected those landmarks), everything changed. That's when I realized: fit beats flair.
This guide walks you through the same assessment process, turning your measurements and monitor layout into a clear positioning strategy.
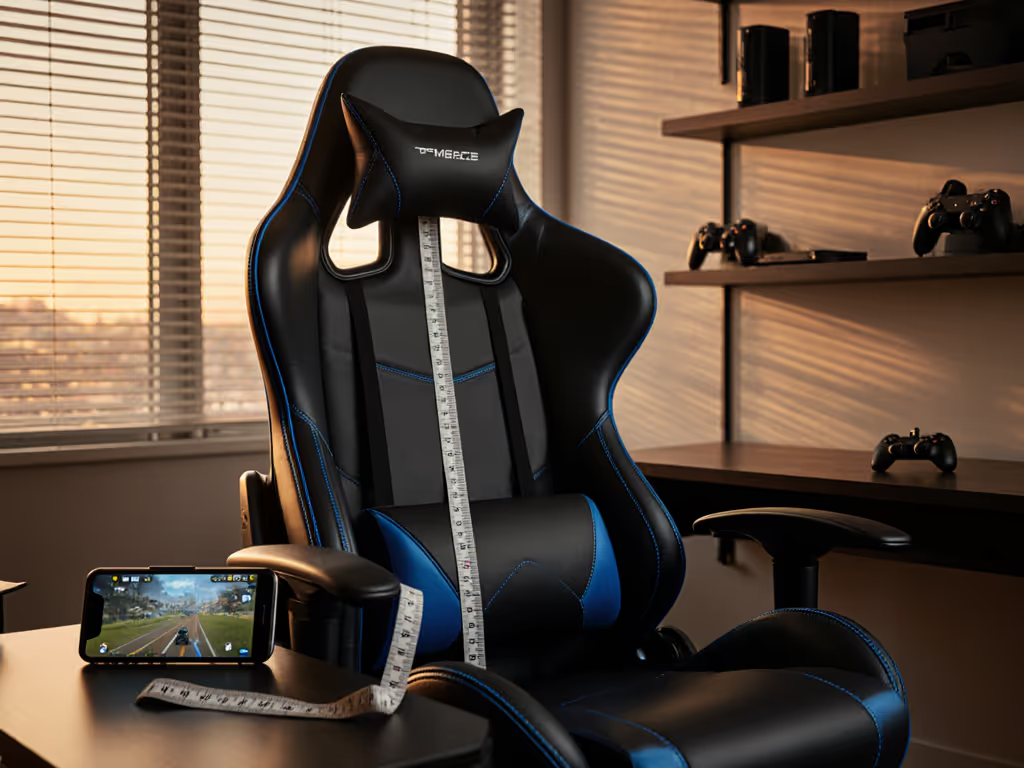
Step 1: Measure Your Body Landmarks
Your body dimensions dictate what seat width, depth, and backrest height will actually support you.
- Inseam (floor to hip crease when seated on a hard surface): Tells you the seat height range that lets your feet rest flat and your knees sit at 90 degrees.
- Thigh length (hip crease to back of knee): Determines ideal seat depth. A seat that's too long pushes the back of your knees into the edge; too short leaves your lower back unsupported.
- Shoulder breadth (bone-to-bone across shoulders): Guides seat width and armrest spacing so you're not pinched at the ribs or floating with no lateral support.
- Torso height (sitting collarbone to hip crease): Indicates the backrest height you'll need; a short backrest leaves mid-back unsupported, while a tall one can feel claustrophobic if it extends beyond your shoulder blades.
- Arm length (shoulder to fingertip, relaxed): Helps position armrests at the right height and depth for your desk and peripherals.
Write these down. They're your baseline, not averages (they're specific to you).
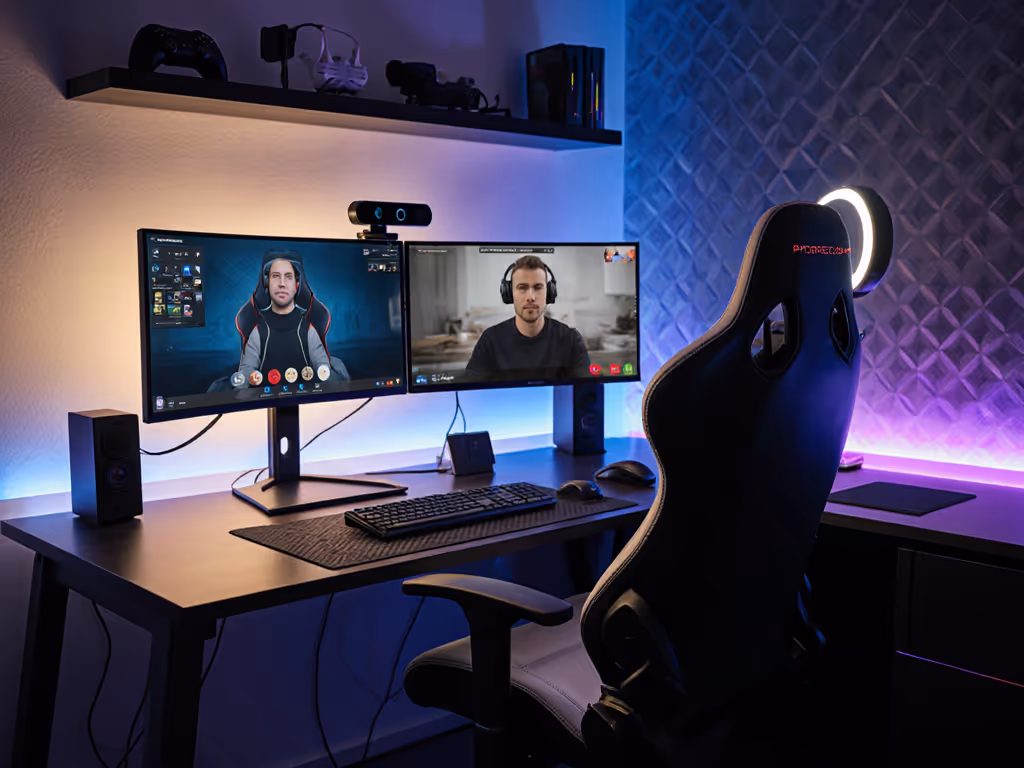
Step 2: Map Your Monitor Layout and Viewing Distance
Before you even sit, understand how your screens will sit relative to your chair.
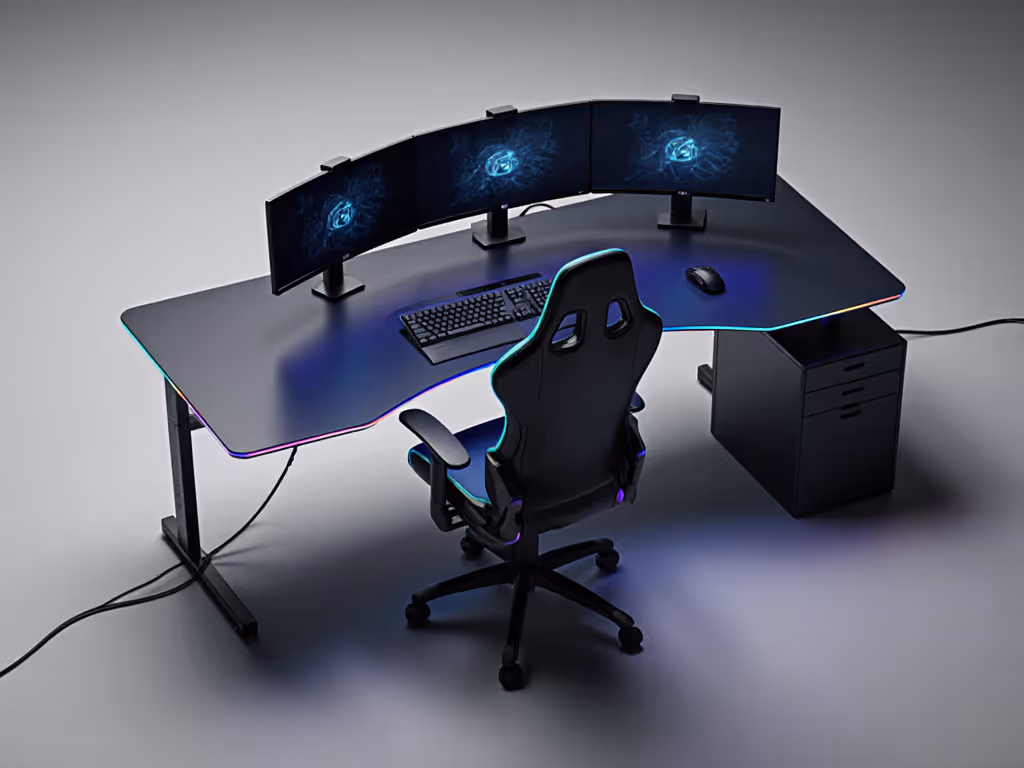
Measure desk depth from your body to the back monitor, and note the spread: are your three monitors in a gentle curve, or is the center screen much closer than the outer two? A multi-screen posture optimization approach means your chair's swivel range and seat positioning must let you see all monitors without twisting your spine or turning your head more than 35 degrees from center.
Mark your primary (longest-session) zone. Most gamers spend 60-70% of their focus on center or slightly off-center, so position your chair angle to favor that area. For layout-specific tips, see our triple monitor positioning guide. If you're a streamer, your camera angle might dictate this; if you're a competitive FPS player, your main monitor (probably center) gets priority.
Step 3: Find Your Ideal Seat Height and Depth
Height and depth are non-negotiable for pressure distribution and posture.
Seat height rule: Your feet should be flat on the floor or footrest with knees at 90 degrees. Using your inseam measurement, calculate the height range: if your inseam is 32 inches, a seat height of 18-20 inches will typically keep your knees aligned. Look for chairs with gaming chair swivel requirements that include a cylinder range matching your desk height (most gaming desks sit 28-30 inches high, so you need seat height flexibility to hit that sweet spot).
Seat depth rule: Aim for a depth where you can sit with your back against the backrest and have one to two finger-widths of space behind your knees (use our seat depth measurement guide to dial this in). This prevents compression in the hamstring and reduces the numbness many gamers experience in hour two. If your thigh length is 16 inches, a seat depth of 17-18 inches lets you use the whole back support without hitting the edge. Too much compromise here, and all the lumbar support in the world won't matter (your legs will be crying for mercy).
Step 4: Position the Backrest and Headrest for Spine Alignment
Your backrest must support your lumbar curve and upper back without forcing an unnatural arch.
- Lumbar height: Set so the curve hits your lower spine roughly at the level of your hip bones when you're reclined slightly (about 100-110 degrees). Sit back fully and check: you should feel support, not a hard edge pushing into the wrong spot.
- Backrest width: Wider is better if it matches your shoulder breadth; too narrow and you'll feel the sides of the seat cutting into your ribs or hips.
- Headrest alignment: For triple monitor seating position or any multi-screen setup, your headrest should support the back of your head and neck without forcing your chin down or stretching your throat. If your torso height is short (like 18 inches), a lower headrest; if tall, a taller one. Most adjustable headrests allow tilt and height adjustment. Not sure which style suits you? Compare adjustable vs fixed headrests for neck support in long sessions. Use both to match your natural neck curve.
Wide field of view means you'll be looking around more, so neck support is not a luxury; it's essential. Test the headrest at different tilt angles to find the angle that lets you glance at side monitors without muscle strain.
Step 5: Optimize Armrest Placement and Height
Armrests that don't align with your desk are one of the biggest sources of shoulder and elbow pain. Here's the fix:
- Measure your desk height from the floor to the top surface.
- Measure your arm length from your shoulder to your wrist (relaxed, arm bent at 90 degrees).
- Set armrest height so your elbows rest at desk level or slightly below (10-15 degrees below). If the armrests sit too high, your shoulders shrug; too low, and your arms pull away from your body, straining the rotator cuff.
- Check armrest depth and angle: Armrests should support your forearm (roughly 8-10 inches back from your wrist) without pushing into your ribs. Pivot or rotate them so they angle slightly inward, mirroring your arms' natural position when you're holding a mouse and keyboard.
Many gamers forget that armrests also stabilize your torso during intense aiming or racing sessions. If they're positioned right, you anchor your upper body, and your aim steadies. If they're wrong, you're micro-adjusting posture constantly. If you’re upgrading, our 4D vs 3D armrest comparison explains which mechanism keeps your aim steady without shoulder strain. That's fatigue adding up.
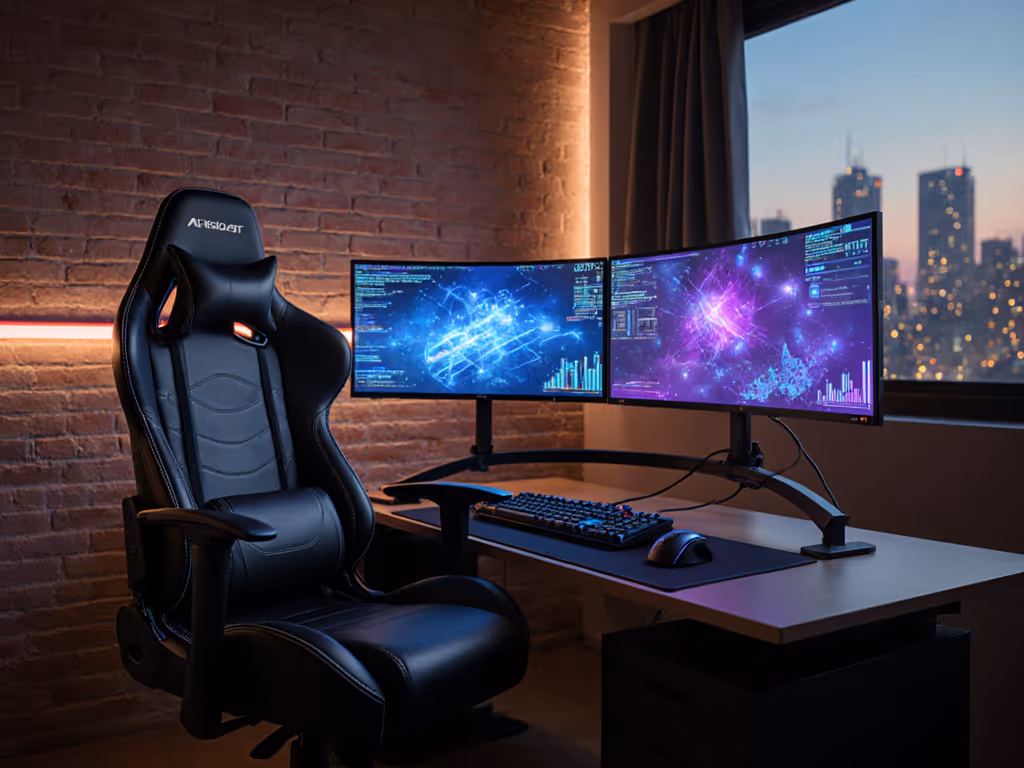
Step 6: Test Your Swivel Range and Reach
A multi-monitor gaming chair setup lives or dies by its swivel smoothness and range.
Once you're seated with armrests and backrest dialed in, rotate left and right. You should be able to see all three monitors or your full ultrawide arc without standing or leaning. Ideally, your swivel feels smooth (not scratchy or loose) and has a wide enough range (typically a 360-degree spin, but 180 degrees to either side is the practical minimum for gaming).
Test the gaming chair swivel requirements under load: rotate with weight in the seat, and notice if there's wobble, creaking, or play in the base or cylinder. A wobbly swivel means instability during intense sessions and micro-adjustments that pile up as fatigue. Learn how stability affects aim in our gaming chair physics guide.
Step 7: Verify Comfort Under Load (The Real Test)
Sit for 15-20 minutes in your target posture. Here's what to notice:
- Pressure hotspots: Do your thighs feel pinched or numb at the edge of the seat? Is your lower back supported or sagging? Does your neck rest naturally?
- Temperature: Is the seat fabric breathable, or are you already feeling heat buildup?
- Micro-movements: Can you adjust your angle, tilt, or reach without feeling locked in or unstable?
- Posture creep: Are you sliding forward, or do you find yourself twisting to see a monitor?
If you notice discomfort, adjust one variable at a time: armrest height, seat depth, backrest tilt, headrest angle. Don't expect perfection immediately, but you should feel supported, not constrained. Wide field of view ergonomics means your chair should let you glance, turn, and track across monitors without pain being a warning sign that something is misaligned.
Moving Forward: Measure, Compare, Commit
You now have a clear picture of what your multi-screen posture optimization demands. Your measurements translate into specs: seat depth range, height range, backrest height, armrest adjustability, swivel smoothness. With these in hand, you can compare models side-by-side and spot which ones actually match your body, not just aesthetics or marketing.
Comfort is personal and measurable. When your chair finally aligns with your measurements and your monitor layout, you'll stop fighting it. No more leg numbness in hour two, no more neck strain from looking sideways, no more constant shifting.
Related Articles